Updating KwikWork Integrator
The following steps are required to update KwikWork Integrator for Content Navigator.
Expand the installer
The installer must be extracted on the Content Navigator server by following the steps below:
unzip KwcnIntegrator-5.2.x.zip |
Update Shared Libraries
Copy the kwcn-client.jar file from the installer to the 'ECMClient/plugins' directory
Update the KwikWork Engine
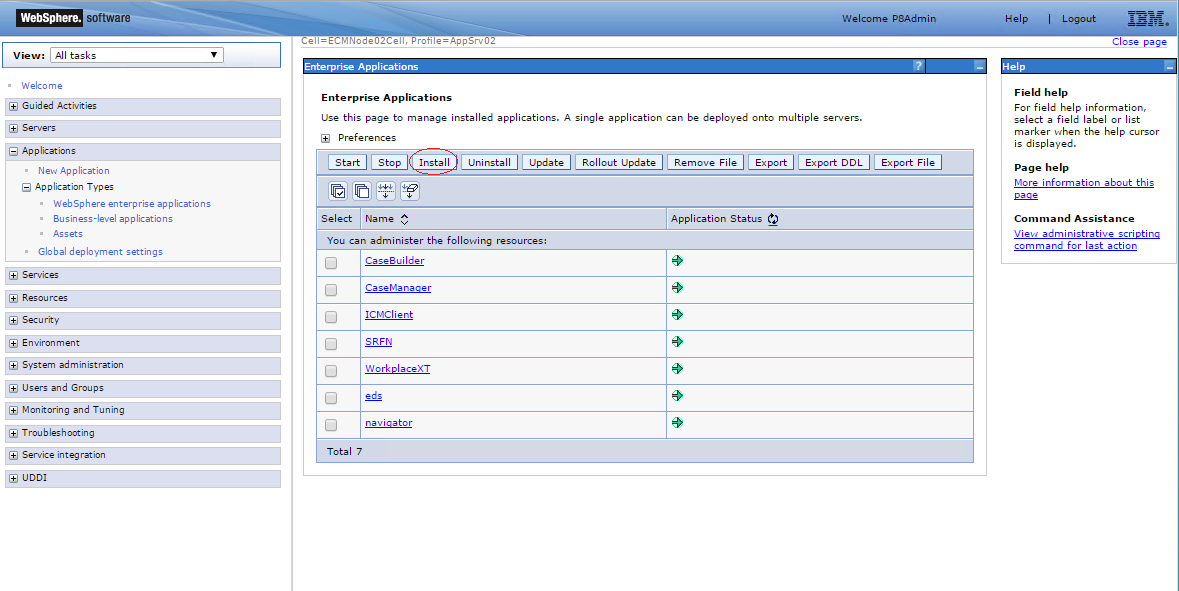
- Log into the Websphere Integrated Solutions Console on the application server where IBM Content Navigator is installed then navigate to Applications→Application Types → WebSphere enterprise applications then uninstall the 'kwcn-engine' application.
- Click the install button above the list of installed applications.
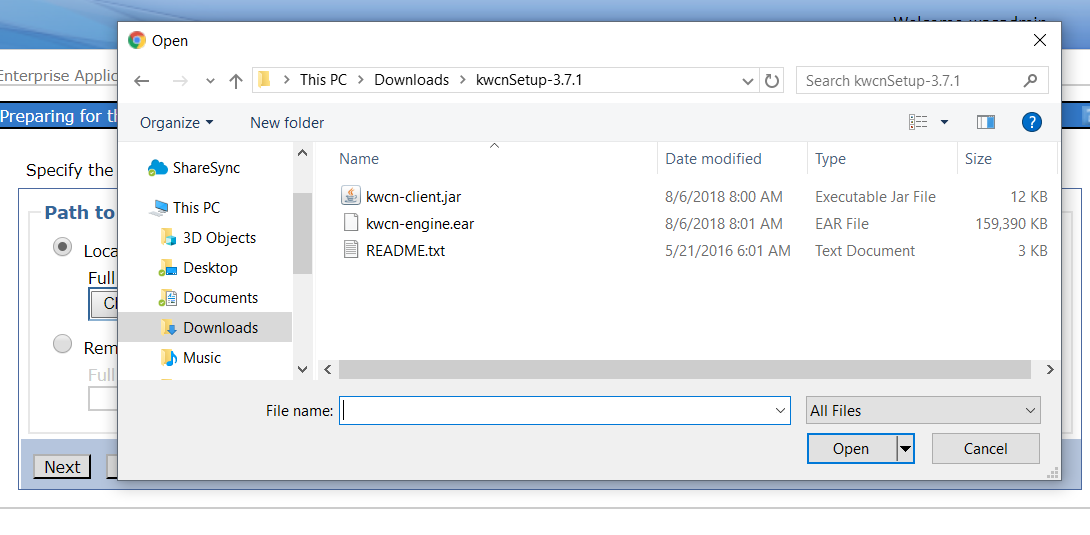
- Click the 'Choose File' button under 'Path to the new application' and locate the kwcn-engine.ear file in the installer that was extracted earlier. Select the ear file, click 'Open' on the dialogue box then click Next.
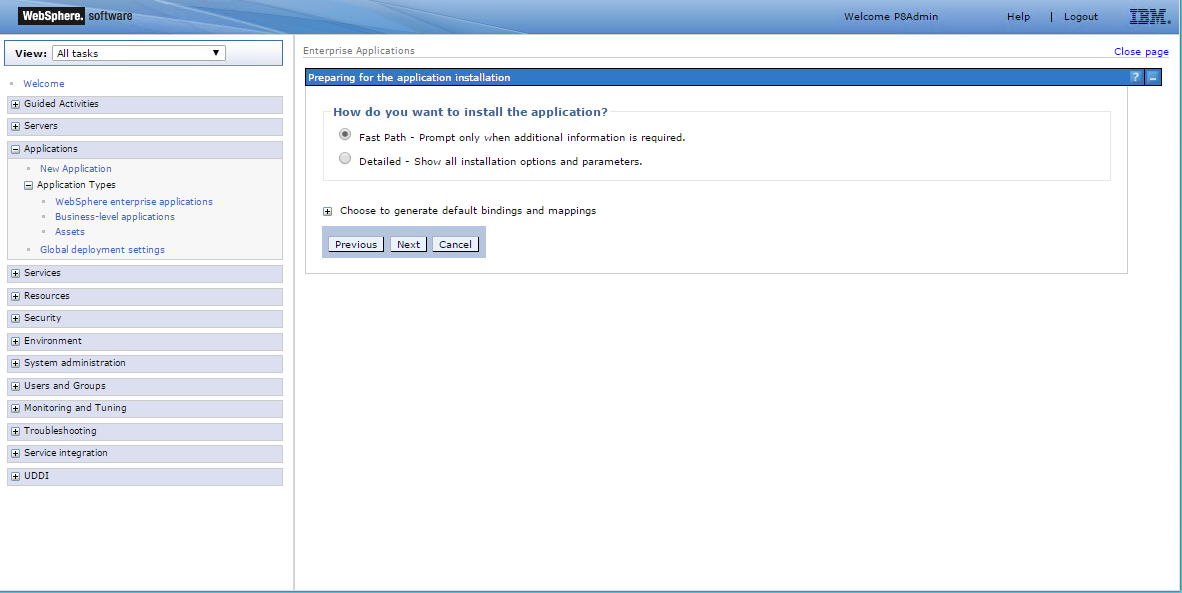
Choose 'Fast Path' if it is not already selected then click Next.
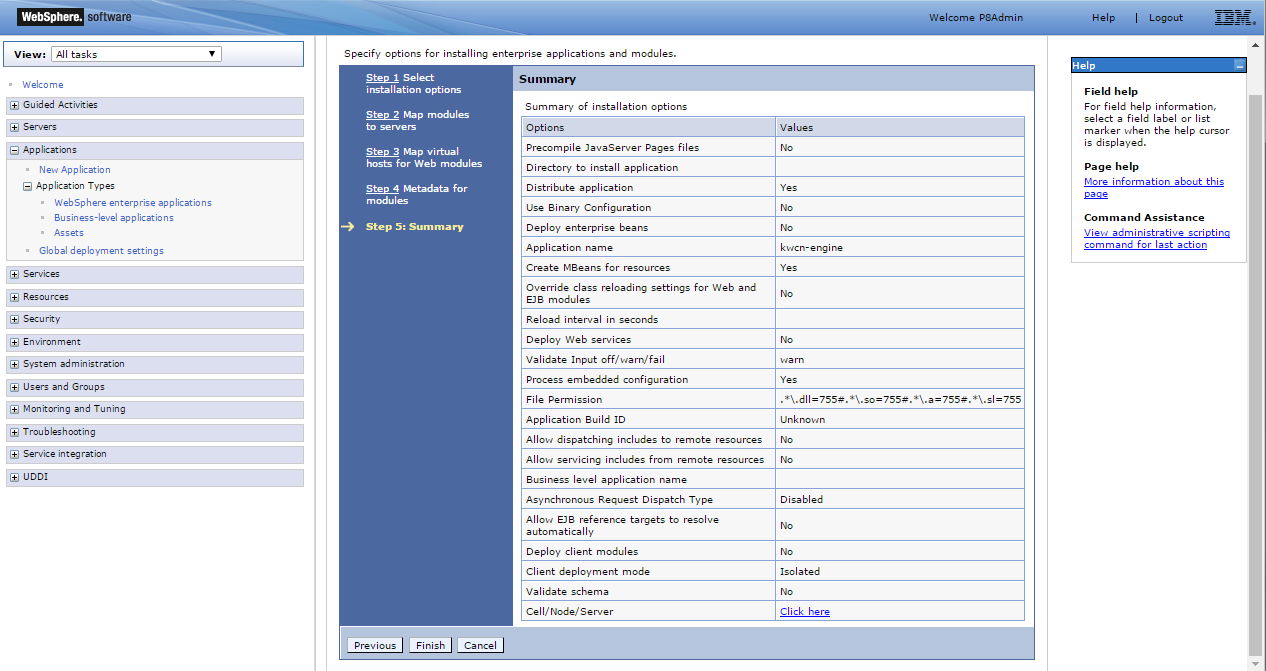
Leave the default values for all steps of the install process.
Finally verify the settings on the Summary page and click 'Finish' for WebSphere to install the Kwcn Engine then save to master configuration.
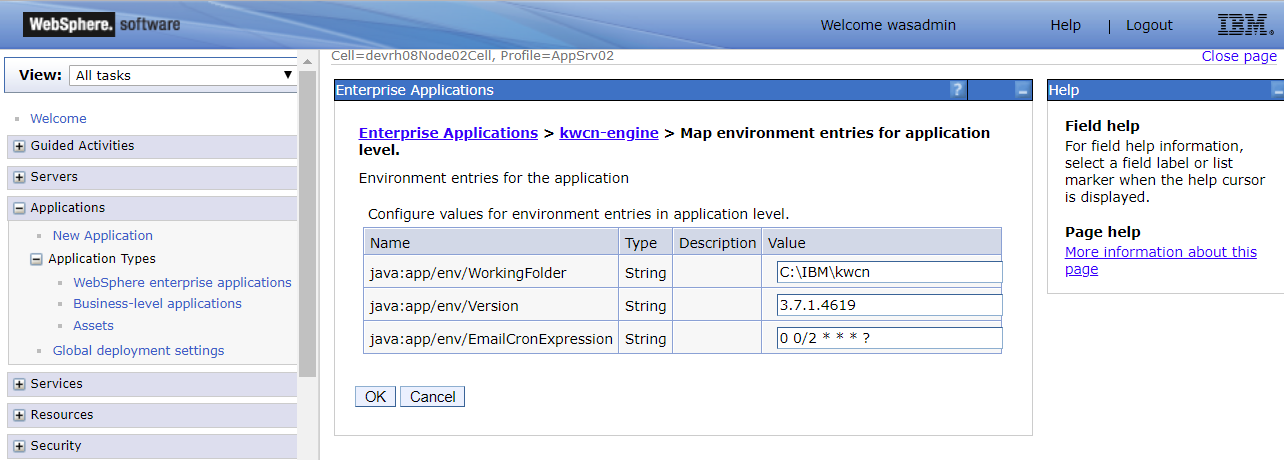
Edit the newly installed kwcn-engine and click 'Environment entries for the application' then update the WorkingFolder to point to the location on the server where KwikWork configurations will be stored. Click 'Ok' and save to master configuration.
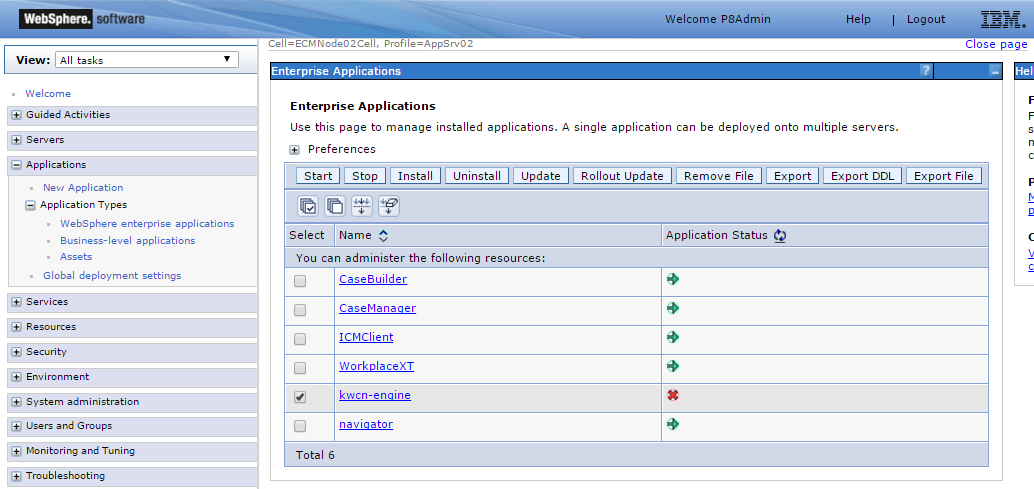
Finally, start the KwikWork Engine by checking the box for kwcn-engine then clicking Start.
Configure IBM Content Navigator for KwikWork
1. Log-in to the Content Navigator admin desktop.
Example: http://server1:9080/navigator
2. Load the KwikWork for Content Navigator plug-in
Click on Plug-ins from the left navigation bar
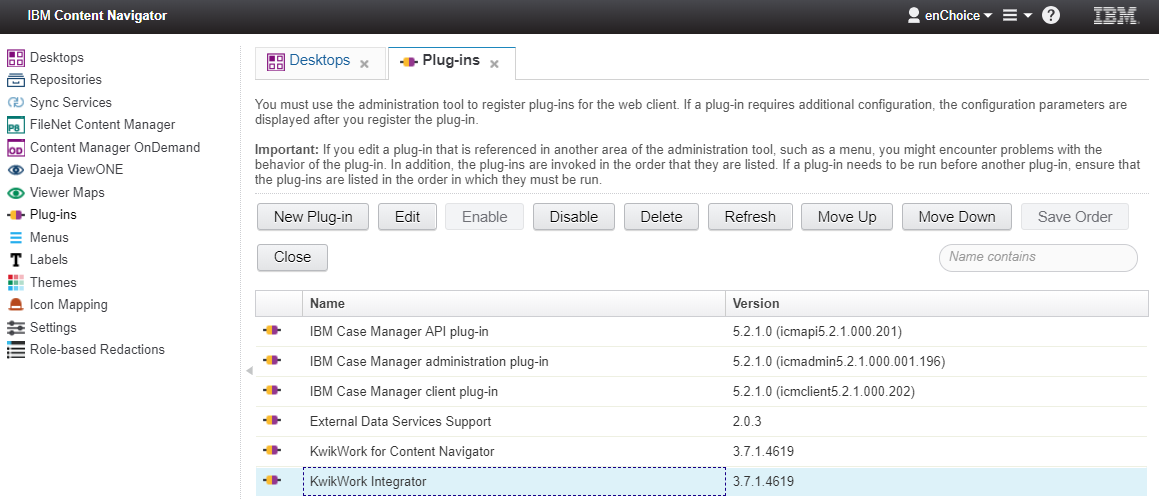
- Click on new plug-in
- The KwikWork Integrator plug-in jar file in now part of the kwcn-engine application and the path should be http://localhost:9081/kwcn-web/kwcn-integrator.jar(substitute 9081 for the port of the WebSphere application server where Navigator and the Kwcn Engine are installed). Once the path is entered click on "Load"
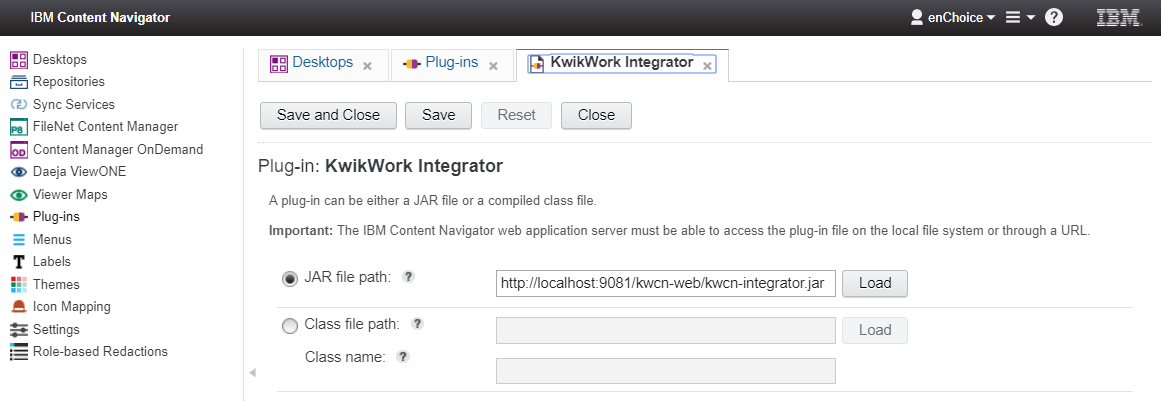
- After the plug-in loads click on save and then close.
3.Update KwikWork Integrator mappings:
If updating from a version of KwikWork Integrator prior to 3.7.1, the Mapping will first need to be updated before they can be used. This can be done as follows:
- Open the Content Navigator Administration panel for a desktop which contains the repositories for existing integrator rules.
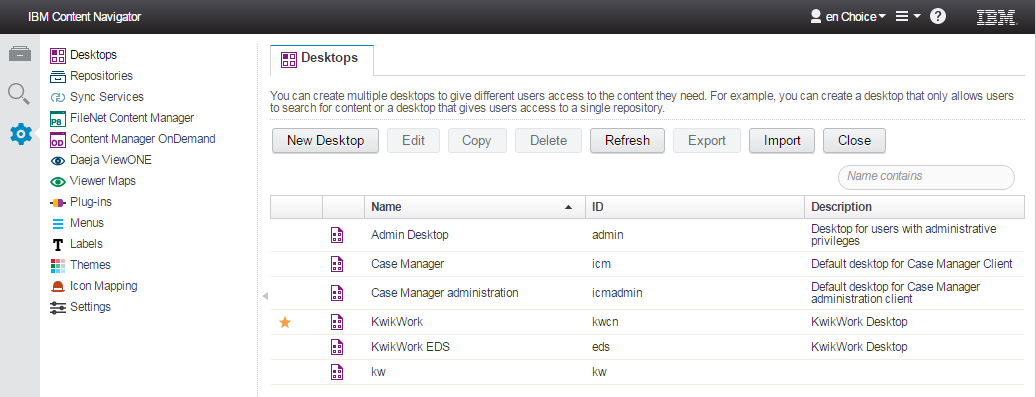
- Navigate to the plugins section then select the KwikWork Integrator plugins and click edit from the top menu.
- Scroll down to the Data Source Mappings section then export and save the mappings. Note: On some touch screen machines, the export button might not respond to a mouse click. Is those situations, pressing the space bar after the mouse click would allow for a successful export.
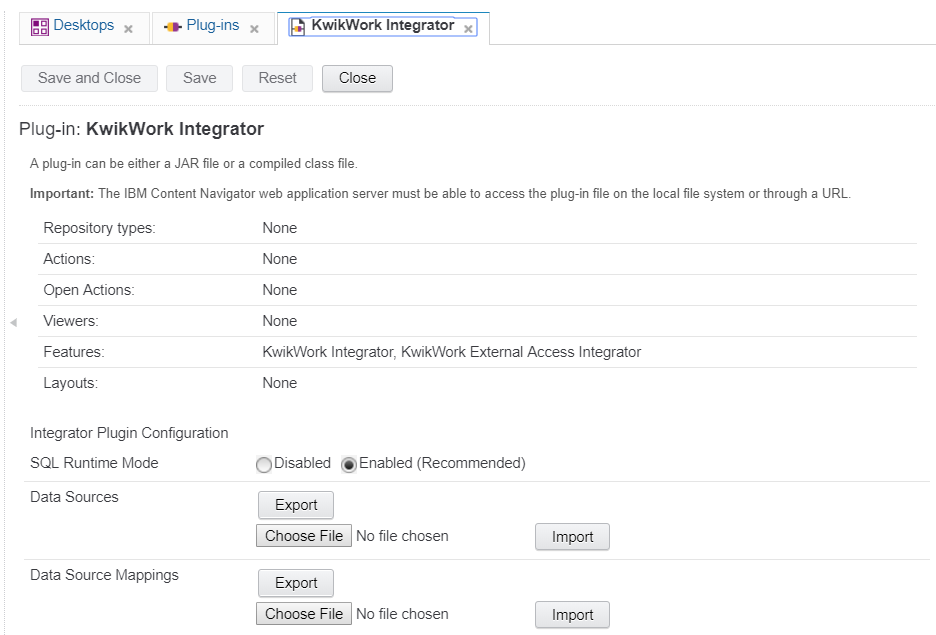
- Click the browse button then select the recently exported 'json' then import it.
- For each mapping verify the repository selected is accurate and make any corrections as needed.
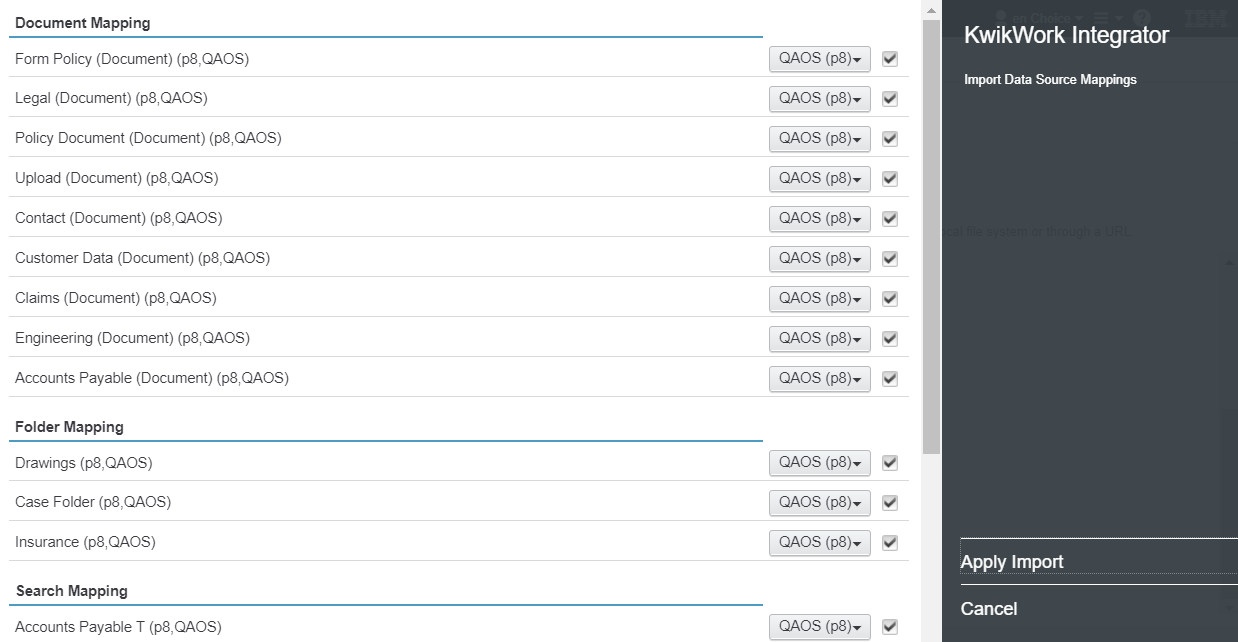
- Finally click the 'Apply Import' button to complete the import of the mappings.
- Open the Content Navigator Administration panel for a desktop which contains the repositories for existing integrator rules.